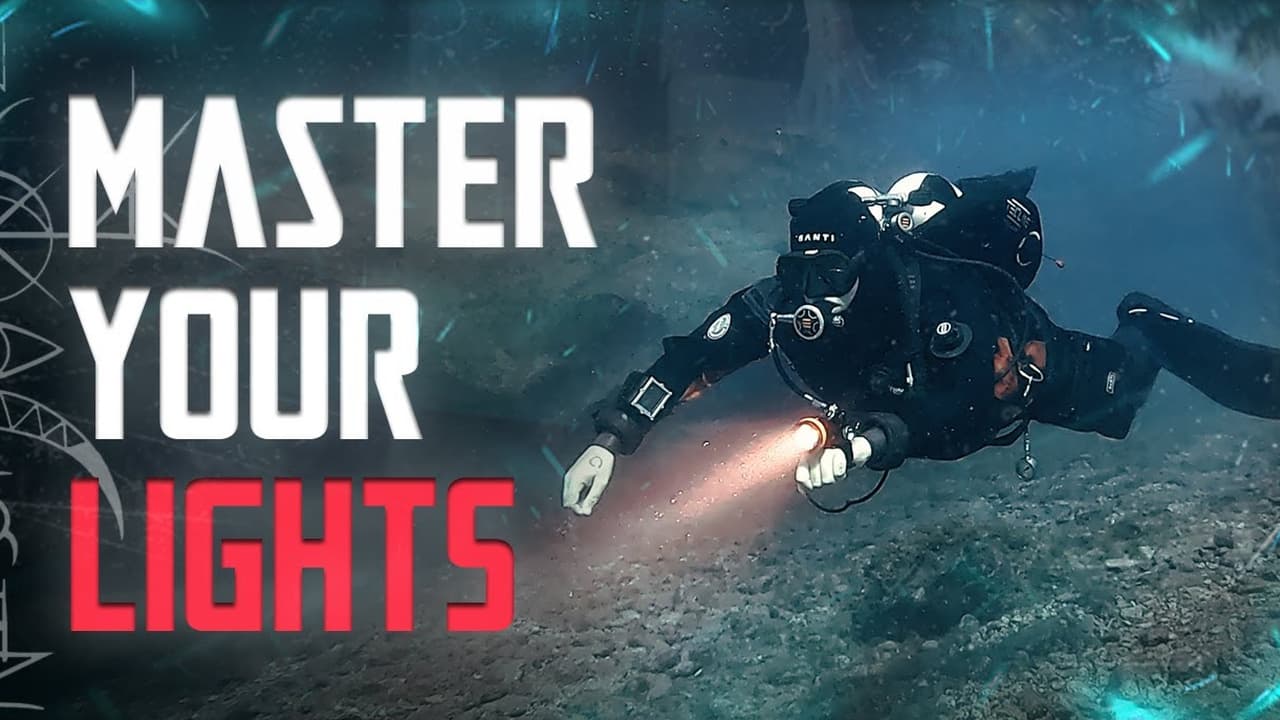
Sidemount diving has surged in popularity among recreational and technical divers alike, prized for its streamlined profile, enhanced buoyancy control, and redundancy benefits. Central to this style of diving is the sidemount regulator configuration - an artful balance of practicality, safety, and customisation. While several variations exist, one configuration stands out for its versatility and broad adoption: the long hose system, closely aligned with the classic Hogarthian setup but refined to suit sidemount’s unique demands.
Before diving into assembly, it’s essential to understand the three primary sidemount regulator configurations. Among them, the long hose system is perhaps the most accessible and practical for divers transitioning from traditional backmount or twinset systems. It offers:
- Emergency flexibility: The long hose provides easy access for gas-sharing in buddy rescue scenarios.
- Compatibility: Its design smoothly integrates with single backmount and twinset setups, ideal for mixed diving teams.
- Modularity: Allows divers to adjust hose lengths and port placements according to personal ergonomics and dive conditions.
While other sidemount configurations exist, the long hose arrangement’s blend of heritage and modern adaptations makes it a strong foundation for most sidemount divers.
Taking the plunge to assemble your own regulator setup may initially seem daunting, but it delivers unmatched benefits:
- Deep familiarity: Handling every component teaches you their purpose and how they interconnect.
- Hands-on troubleshooting: Recognising subtle issues early prevents emergencies underwater.
- Custom fit: Tailoring hose lengths and attachments ensures comfort and operational ease.
- Confidence: Knowing your equipment inside-out fosters peace of mind during dives.
Ultimately, the assembly process transforms gear from a black box into an intuitive extension of the diver.
A well-rounded sidemount regulator setup includes:
- Two DIN-type first stages with swivel turrets and a fifth port.
- Two matching second stages (ideally the same brand as the first stages for consistency).
- One long 2.1-metre intermediate pressure (IP) hose for the long hose regulator.
- One short IP hose cut to your body measurements for the short hose regulator.
- One 90-degree elbow adaptor for connecting the short hose second stage.
- Two low-pressure inflator hoses - one for your buoyancy wing, the other for a drysuit inflator.
- Two submersible pressure gauges (SPGs) with 15-20cm high-pressure hoses.
- A regulator necklace bungee (about 60cm long and 4mm thick).
- A small bolt snap, O-ring, and zip tie for the long hose breakaway system.
- An Allen key (often 5mm, but check your first stage specs) to remove blanking plugs.
- A set of wrenches (usually 14-18mm) for hose fittings.
- Silicone lubricant for O-rings and seals.
- Cable ties and nail clippers for neat finishing touches.
- Remove blanking plugs: Start with the fifth port blanking plug on the first stage - this will be used to connect the wing inflator hose. Next, remove a plug from the swivel turret to attach the short hose regulator, and finally, remove a blanking plug from the bottom high-pressure port for the SPG. This bottom port positioning is crucial for accurate pressure readings and ergonomics.
- Inspect and lubricate O-rings: Carefully check every O-ring for nicks or wear, replacing if necessary. Although lubricant is usually applied to moving parts, applying a light coat of silicone grease on all O-rings enhances the seal and reduces wear.
- Attach the short hose: Thread the short second stage hose into the chosen swivel turret port. To avoid damage, either allow the hose to roll naturally on the bench or hang it freely as you thread. Avoid forcing the thread - if resistance occurs, back off and retry.
- Fit the 90-degree elbow adaptor: Connect the elbow to the hose end, taking care to avoid cross-threading. This elbow helps position the second stage mouthpiece ergonomically.
- Connect the second stage: Secure the second stage to the elbow with a gentle wrench turn - just beyond finger-tight is enough. Over-tightening risks damaging fittings.
- Add the regulator necklace bungee: Tie simple knots at each end of a 60cm bungee cord and attach it to the second stage mouthpiece using a cable tie. The tie should be tight enough to hold but allow the bungee to slide beneath for length adjustment. Trim any sharp cable tie ends for comfort.
- Attach the SPG hose: Connect the high-pressure hose to the bottom port on the first stage and the other end to the SPG. Lubricate the swivel O-rings inside the SPG using a thin layer of silicone grease for smooth rotation and durability. Avoid excess grease which could interfere with the Bourdon tube mechanism and affect gauge accuracy.
- Connect the wing inflator hose: Attach the low-pressure hose to the fifth port, using cable ties looped around the inflator nut for easier handling during removal and connection.
The long hose regulator connects to the right cylinder in a typical sidemount rig, so orient your first stage accordingly - DIN fitting facing away, with the bottom high-pressure port for the SPG on the underside.
- Remove blanking plugs as necessary, but only remove the fifth port plug if you plan to attach a drysuit inflator hose.
- Attach the long 2.1-metre IP hose to the swivel turret's low-pressure port. Due to its length, carefully rotate the first stage while threading the hose to prevent strain.
- Connect the second stage mouthpiece to the hose as before.
- Implement the breakaway mechanism: This safety feature keeps the long hose clipped off but easily released during gas-sharing emergencies. The recommended method uses an O-ring and zip tie attached to a small bolt snap, which is robust and simple to repair in the field. Avoid thick O-rings that resist quick breaks.
- Attach the SPG to the first stage following the same lubrication and gentle tightening procedure as with the short hose.
- Connect the drysuit inflator hose to the fifth port (if applicable), ensuring the hose length fits comfortably without creating loops or entanglement risks.
Final Testing and Maintenance
Once assembled, thoroughly test your regulator system for leaks and smooth operation before diving. Regularly inspect hoses, O-rings, and connections to catch wear early. Your familiarity with the assembly process will make maintenance and troubleshooting straightforward.
The sidemount regulator configuration may appear complex at first glance, but methodical assembly and understanding transform it into an intuitive system tailored to your diving style and safety needs. By personally building and maintaining your regulators, you cultivate a profound appreciation of your gear’s intricacies - enhancing your confidence and capability underwater.
Whether you’re transitioning from backmount or embarking on technical cave dives, mastering this assembly enriches your diving journey with self-reliance and precision. Take the time to learn your regulators inside out, and you’ll enjoy safer, smoother, and more rewarding sidemount dives.